Search This Blog
Thursday, December 13, 2012
Final # 3 (Group Building Project)
In this 3D group building exercise I was attempting to create a pool. As I worked I realized it is very difficult to create object that looks and seems real. This is because you can see the object from every angle, so what may look good from one angle may not even be the same height or length from another. After spending some time building you can get a feel of what is actual possible in a 3D inviroment. This exercise was very useful and I will certainly be spending more time In 3D worlds.
Final # 2 ( Monocular Depth Cues)
In the Cloud party screenshot you can see how the leaves changes color and texture and you get closer to the root of the plant. In this picture I am trying to show you that one depth cue such as a texture can really bring an object to life.
In this next screenshot I am trying to show you horizon or distance. As you can see the stairs appear to get smaller and smaller as they go up, which gives you the perception of them being further away and also higher.
This monocular cue shows you depth. You can see how all three trees are different sizes which leads you to believe that even in a 2D world an object can still be seen as 3D by using size variations.
In this cloudparty screenshot I am showing you Occlusion. This is when on object blocks another object making it seem farther away. You can see that the piller is blocking the cement wall behind it making it seem further away even tho it is relatively the same size
Final # 1( Flash /Powerbullet.swf files)
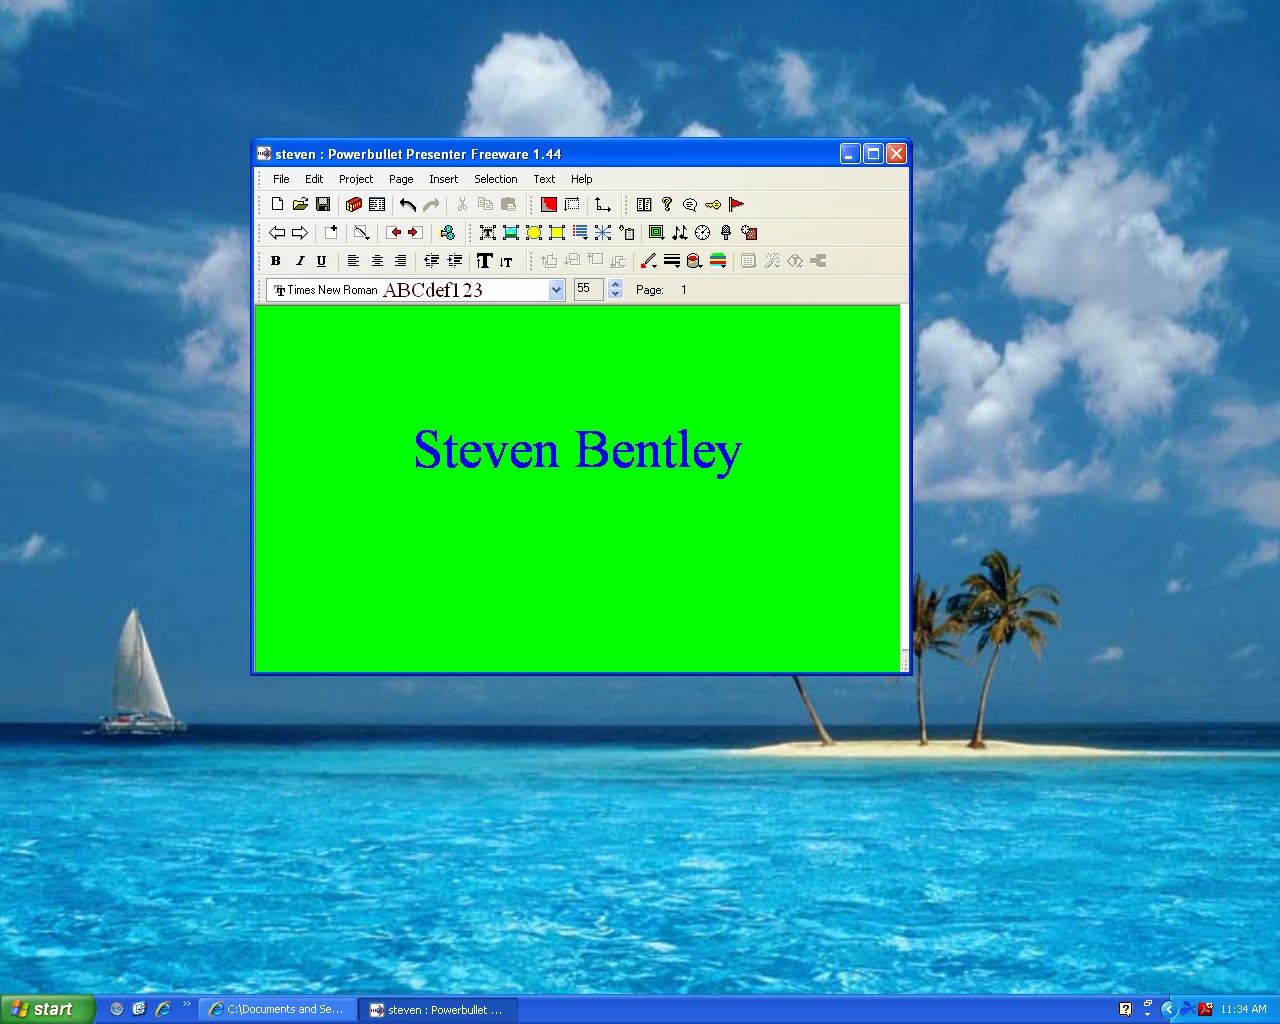
For Final #1 I created a new document in powerbullet, then I used the text tool to add my name. next i changed the font color and size and added an animation to my slide. I then saved the image as a .swf file and uploaded it to my bc file share, ( see link below)
https://wfs.bc.edu/xythoswfs/webui/_xy-19789888_1-t_TadXBKht
https://wfs.bc.edu/xythoswfs/webui/_xy-19789881_1-t_ltsopjdR
Thursday, December 6, 2012
Thursday, November 29, 2012
Wonderland Screenshot
Thursday, November 15, 2012
Class 10 3D Choices
I chose the snake one because it has very good graphics and the hills keep changing.
For my second choice i chose the beanstock because it kept growing and sprouting new leaves in differnt areas.
Number three and my favorite was the tank 3D interactive game, not only was it in a 3D world but you could also control and fire from the tank.
Thursday, November 8, 2012
Tuesday, November 6, 2012
Class # 8 Assignment # 4
For the final assignment i combined all three proir assigment options. First i opened a new document added my name and animation to it then this time i created a new page for the second item whcih in this case happend to be a rectangle, final i created one last page and inserted an image and animation to this image. I then exported to my bc files and posted screen shots and the link to my bc files on my blog.
Link to Live Webpage
https://wfs.bc.edu/xythoswfs/webui/_xy-19791761_1-t_ENo92caA
Class # 8 Assignment # 3
For assignment 3 I did the exact same thing as in assignment 1 and 2, but for the object I inserted an image and then chose an animation for the image.
Link to Live Webpage
https://wfs.bc.edu/xythoswfs/webui/_xy-19791025_1-t_AuIZEdBq
Class # 8 Assignment # 2
For assignment 2 I just created another new document and did the same as assigment 1 i added a backgroung color, but this time I added a shape instead of my name, then Chose a differnt animation for the object.
Link to Live Webpage
https://wfs.bc.edu/xythoswfs/webui/_xy-19789881_1-t_cY2J8AeT
Class # 8 Assignment # 1

For the first assignment I created a new document in Powerbullet then i seleted a background, added text and finally added my choice of animation to my name.
Link To Live e Webpage
Thursday, November 1, 2012
Midterm #4
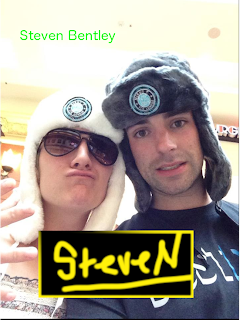
For this midterm I took a screen shot of my avatar and simply created a black box and within that box i just added some text with my name and some class information.
Thursday, October 25, 2012
Class #7 assignment #1
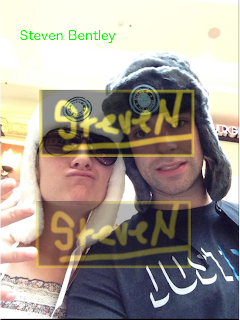
 I used the text tool along with the transparency feature to create five different layers of texts and transparency.
 In this image I learned about transparency. I used an old photo and then pasted in a few images i was previously working on and proceeded to play around with the transparency slider with each of my layers.
 In this exercise i learned how to paste into an image. Instead of just a copy and paste, paste into allows me to move around and adjust differnt opionts in my photo.
Subscribe to:
Comments (Atom)


.png)


